Here is a little Tutorial that one of our Aussie Hero Friends, Sue N, was kind enough to share with us. For those who do not know, in order to quilt a quilt on a domestic sewing machine you first need to layer it and pin it. A quilt is made up of three layers –
1. the quilt top which is the pretty side usually with all the pieces sewn together or decorated in some way,
2. the batting which is the padding that gives a quilt its warmth and substance
3. and the backing which is usually one piece of fabric, or maybe several depending on the size needed. That is usually where the label is sewn.
These three layers are quilted – sometimes with simple straight stitching and sometimes with fancy stitching.
To get all three layers to stay together without moving and causing wrinkles in the finished quilt these three layers must be stretched taut and then pinned together so there is no movement whilst they are pushed and pulled and manipulated through a domestic sewing machine. Often quilters have trouble finding a table surface and sometimes even a floor surface that is big enough to spread the layers out on to work on them. Many of us cannot get down on the floor to do it so need to find a table. I am lucky in that my kitchen table is just the right size to pin an Aussie Hero Quilt on but not everyone is as fortunate.
This is Sue N’s solution to the problem. I hope some of you find it useful.
🙂
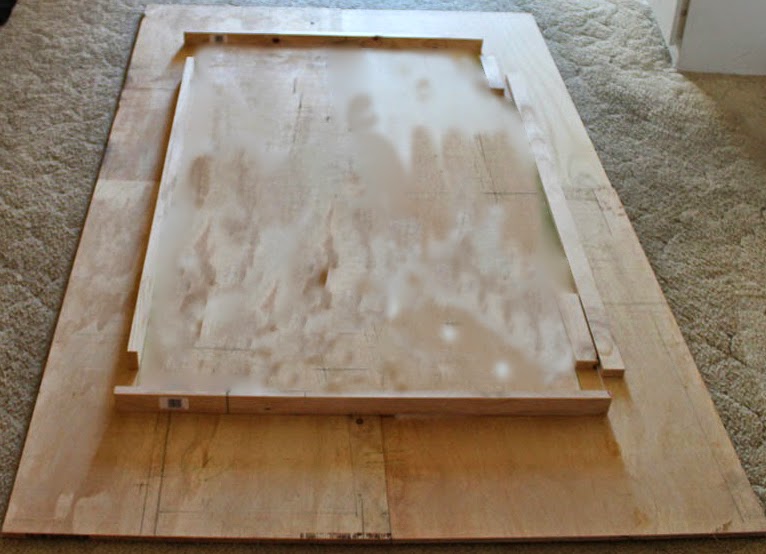
Quilters Table top.
This is now your template where you would add the wood that is glued and screwed in place.
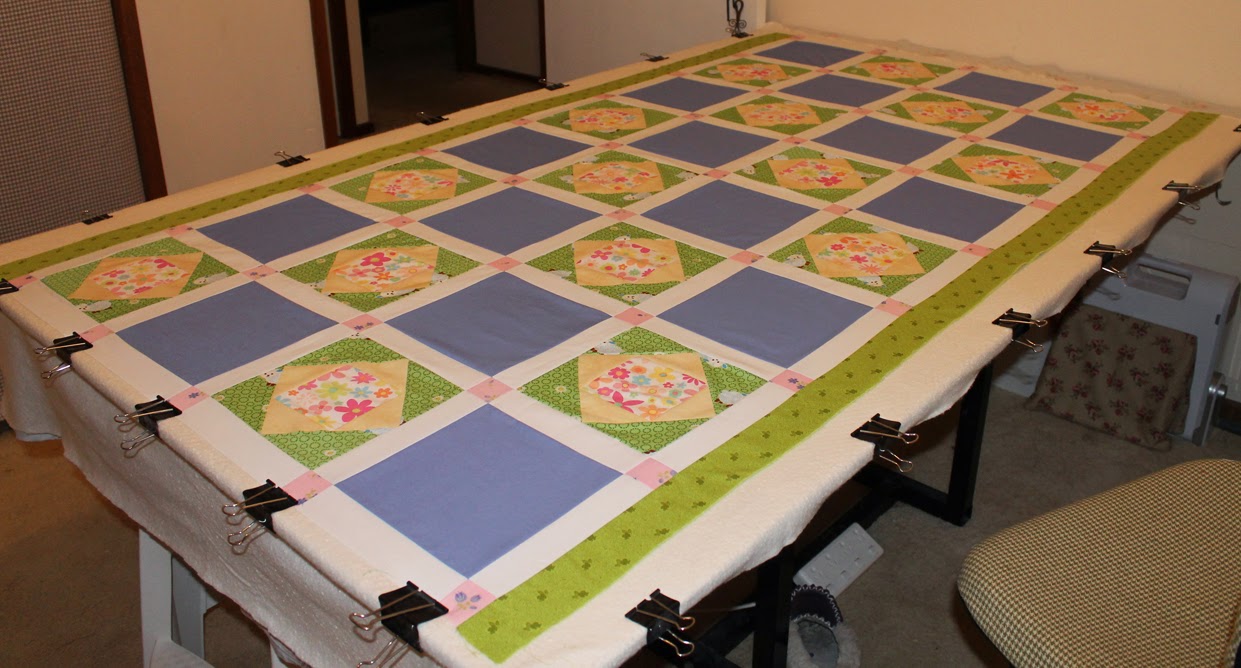
Here it is in use. I have found that I can actually use the table for sewing too, as long as the machine is where the actual real table is underneath it is strong enough.it does not move because of the wood surrounding it holds it tight.
Till next time………………keep spreading the word and happy stitching! JMxx


Cool!